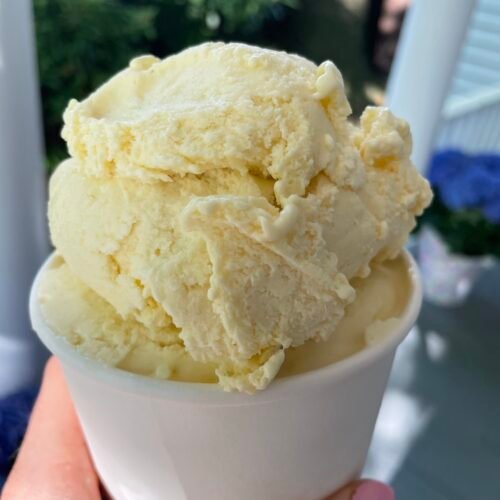
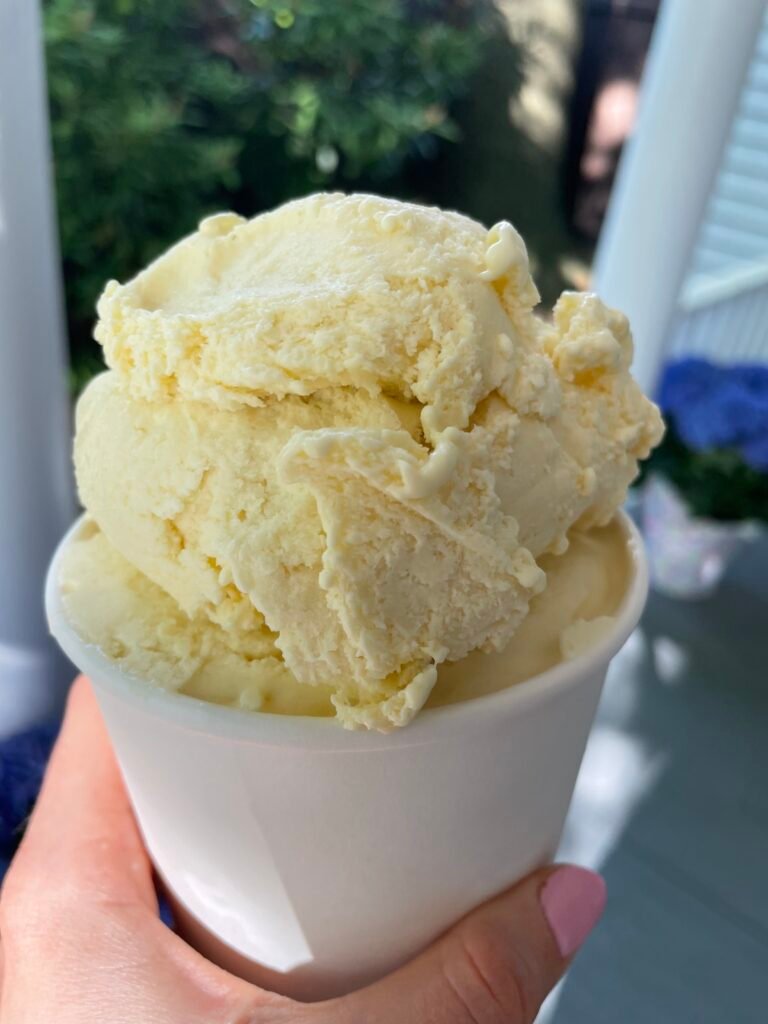
Vanilla Ice Cream: Mastering the Classics of Homemade Pints
Calling all ice cream enthusiasts! If you love a good pint, you may agree that store-bought tubs often lack the smooth texture and vibrant flavor of homemade or hand-crafted ice cream. Whether you’re a plain jane vanilla-lover, or looking to dabble in some other flavors, this vanilla ice cream recipe is the most important one to master. I’ve made a number of flavors now, and have found that most use a basic vanilla as a base, and add mix ins or extra ingredients from there. Consider this recipe your launch pad to your at home ice cream shop.
But before you get intimidated by fancy equipment, fear not! This recipe is your secret weapon for creating a scooping masterpiece right in your kitchen.
Making your own ice cream might seem like a challenge, but trust us, it’s incredibly rewarding (and way easier than you think!). This recipe is designed for beginner ice cream makers, so you can skip the complicated steps and churn out delicious results. Plus, with a little know-how, you’ll be the MVP of the next dessert party – homemade vanilla ice cream sounds fancy, right? But with a few simple steps, you’ll be a scooping pro in no time.
Why This Recipe is the Vanilla Bean Dream:
- Homemade Hero: Ditch the store-bought tubs of mystery ingredients! This recipe allows you to control exactly what goes into your ice cream, using fresh, high-quality ingredients.
- Classic Perfection: Vanilla ice cream is a timeless dessert for a reason. This recipe captures the pure essence of vanilla, with a rich and creamy base that complements any topping you can imagine.
- Beginner-Friendly: Sure, there are a few extra steps involved compared to grabbing a tub at the store, but this recipe is designed for novice ice cream makers. We’ll walk you through every step, making the process fun and foolproof.
Vanilla Fun Fact: Not All Vanilla is Created Equal!
Vanilla extract is a common baking ingredient, but did you know it comes from vanilla beans? These long, slender pods are the fruit of a climbing orchid vine, and their flavor is what gives vanilla ice cream its signature taste. Here are some quick tips for using vanilla extract:
- Quality Counts: Pure vanilla extract is always best! It offers a more complex and nuanced flavor compared to artificial vanilla flavoring.
- Storage Tips: Store your vanilla extract in a cool, dark place. Light and heat can degrade its flavor over time.
- Ever thought about making it yourself?: Vanilla extract is only made up of vanilla beans and vodka- you can actually make it yourself really easily, and it makes great gifts!
Homemade Vanilla Ice Cream: Your Shopping List for Success
Here’s what you’ll need to create this scooping masterpiece:
- Milk & Cream: A creamy base is essential for any good ice cream. This recipe uses a combination of 1 cup whole milk and 1 cup heavy whipping cream.
- Sugar: We use ½ cup of sugar, but feel free to adjust this amount to your taste preference.
- Vanilla Extract: A splash of high-quality vanilla extract adds depth of flavor.
- Egg Yolks: Three egg yolks act as a thickener and emulsifier, creating that smooth, luxurious texture we all love in ice cream.
- Salt: A pinch of salt enhances all the other flavors in the recipe. Don’t skip it!
Ice Cream Making Like a Pro: Step-by-Step Vanilla Magic
Part 1: The Custard Creation
- Warm Up the Act: In a saucepan, combine the milk, sugar, vanilla extract, and salt. Heat the mixture over low to medium heat until it’s steaming. Don’t let it boil!
- Eggcellent Tempering: While the milk mixture heats up, whisk the egg yolks in a medium bowl until they’re frothy and light yellow. This is where things get interesting – we need to temper the eggs! Slowly drizzle the warm milk mixture into the egg yolks while whisking constantly. This gradual addition prevents the eggs from scrambling and ensures a smooth, custard-like consistency.
- Custard Countdown: Pour the tempered egg mixture back into the saucepan and cook over low to medium heat, stirring frequently. You’ll know it’s done when the custard coats the back of a spoon and leaves a clean streak when you draw your finger through it. This will take about 5-7 minutes, so be patient!
- Whipping It Good: In a separate bowl, whip the heavy whipping cream, but don’t let it get to a whipped cream consistency. This will become the air that lightens up your ice cream and gives it that dreamy texture.
- Combo Time: Mix your custard concoction into the whipped cream mixture. If you notice any cooked egg pieces in your custard, don’t panic! This can happen from tempering a little too quickly. Simply strain the mixture through a fine-mesh sieve to remove any unwanted bits.
- Storage: Pour everything into a tupperware container and cover with saran wrap. Pro tip- let the saran wrap touch the top of the custard to prevent a film from forming. Store on the fridge overnight.
Part 2: Churning Up Creamy Perfection
- Freeze Factor: About 1 hour (minimum!) before making your ice cream, move the mixture to the freezer. You want it to get as thick and cold as possible without becoming a solid.
- The Magic!: Pour the combined mixture into an ice cream maker container and churn according to the manufacturer’s instructions. This will probably take around 15-20 minutes. Patience is key!
- The Big Chill: Once churning is complete, transfer the ice cream to a container and store it in the freezer for at least a few hours, or ideally overnight, before scooping. This allows the ice cream to harden completely and develop its full flavor.
Pro-Tips for Vanilla Bean Bliss:
- Vanilla Bean for the Win: Want to take your vanilla ice cream to the next level? Consider using a vanilla bean instead of extract! Split a vanilla bean lengthwise, scrape out the seeds, and add them to the milk mixture while it heats for an even more intense vanilla flavor.
- Freeze Factor: For the creamiest texture, avoid over-churning or letting the ice cream harden for too long in the freezer. Ideally, you want it to be scoopable but not rock-solid.
- Mix-In Magic: Once you’ve mastered the base recipe, feel free to get creative with mix-ins! Chocolate chips, chopped nuts, swirls of caramel – the possibilities are endless. Just be sure to add your mix-ins after the ice cream has churned but before it freezes completely.
So there you have it! This recipe is your gateway to homemade ice cream heaven. With a little practice, you’ll be churning out delicious and impressive scoops in no time. Forget the store-bought tubs and embrace the satisfaction of creating your own delicious frozen treat.
Bonus Tip: Homemade ice cream also makes a fantastic gift! Package up a pint in a cute container and share the vanilla bean love with your friends and family.
Now get out there, conquer your kitchen, and enjoy the delicious rewards of homemade ice cream!

Vanilla Ice Cream
Equipment
- Ice cream machine
Ingredients
- 1 cup whole milk
- 1 cup heavy whipping cream
- ½ cup sugar
- ½ tsp vanilla can add more to taste- I usually do
- 3 egg yolks
- pinch salt
Instructions
Ice cream batter
- Add milk, sugar, vanilla, and salt to a pot and warm on the stove until steaming over low to medium heat.
- Meanwhile, add egg yolks to a medium sized bowl and mix until frothy.
- Temper the eggs by VERY slowly adding the warm milk mixture to the eggs. Beat the eggs continuously while you do this (very important!). The slower the addition of the milk the better- you don't want them to get too hot or they will scramble.
- Put egg and milk mixture back in pot on the stove, and heat over low to medium heat. Stir frequently. This mixture will cook until it forms a thick, custardy consistency- it should stick to the back of a spoon and trickle off gradually.
- While the milk mixture is heating, add the heavy whipping cream to a stand mixer or bowl (using an electric hand mixer). Whip until thickened, but before it turns to a full whipped cream consistency.
- Once the custard mixture is done, it's time to add it to the heavy whipping cream. If you notice cooked egg pieces in the custard (either from tempering incorrectly, or not stirring enough when on the stove), strain through a mesh sieve. Add to whipped cream mixture and stir together.
- Pour mixture into a Tupperware container, and lay a piece of saran wrap over, touching the custard mixture. This prevents a film from forming. Store in the fridge overnight.
Ice cream churning
- One hour (minimum) before making your ice cream, move mixture from the refrigerator to the freezer. This is important! You want the batter to become thick and frozen, but not to the point where it's completely solid. If it isn't extremely cold and partially frozen when going in the machine, your ice cream will not harden properly when churning and will turn icy.
- Add ice cream mixture to your machine and churn thoroughly. This will probably take around 15-20 minutes.
- Store in freezer to continue to harden.

